Monday, November 25, 2013

New Cone 6 Glaze Combination

This weekend I tried a new cone 6 glaze combination, Amaco's Chun Plum under Amaco's Iron Lustre. The combination came out a little bit different than what I was thinking it would turn out, but I like it. I think it will be a good holiday glaze due to the green and red nature of the glaze. Below are some pictures of an organic platter that was glazed with this combination.

Iron Lustre and Chun Plum


I hope everybody has a great Thanksgiving!

Thanks for reading!

-Mark Barta


Sunday, November 17, 2013

Cone 6 Firing Part 2!

I just recently fired my second round of Cone 6 glazes in my kiln, and this round turned out exceptionally well. This entry is going to mainly focus on pictures of the pieces, if you have any questions about the firing, feel free to leave a comment. All pieces were fired with Amaco's Cone 6 glazes and are a combination of two glazes brushed on top of each other.


Large Tenmoku vase with Seaweed Green on top

Loving this combination!
Base Glaze is Amaco's Tenmoku
Glaze on Top is Amaco's Seaweed Green
 
Twisted Top Bottle
Twisted Top Bottle
Base Glaze is Amaco's Tenmoku
From Above Angle
Top Glaze is Amaco's Seaweed Green


Small Brown Vase

Round Brown Vase
Base Glaze is Tenmoku
Top Glaze is Light coat of Lustrous Jade
 
Bowls
Base Glaze Blue Rutile, top glaze Seaweed Green
Inside of Bowl
Blue Rutile Base, Top Lustrous Jade
Inside of bowl
 
 
Thanks for Reading and Looking!
-Mark Barta


Wednesday, October 23, 2013

New Series of Work!

Lately, I have been thinking a lot about pottery and defining a personal style, and I would like to share my thoughts on this and a new style I am going to be trying with my work.

After much pondering on my ceramic work, I have come to the realization that to get to the next level in creating ceramics art, I need a style. Style, in my opinion, is the unifying design that distinguishes your work from other artist and adds a little bit of yourself into your work. I believe that personal style is important to any artist and helps distinguish yourself as an artist to the rest of the community. It is the style of the artist that makes your work stand out from other potters and carve out your own personal space in the art world.

In developing this new style, I spent many of hours thinking about what I want to convey and emote with my ceramic work. After many hours sketching out ideas and then throwing them away, I settled on a style that I think reflects myself. So, what's the style that I have decided to start using...

Minimalism!

As a little bit of an Apple fanboy, I was inspired by there redesign of there new iOS that powers there mobile phone. The use of black and white and a single color really struck a cord with me, and make me think how I could apply this to my work. Also, I have always wanted my ceramic work to stand more for the form than extravagant glazing techniques, so this fit in line very well.

Below is an example of this style and how I am going to apply it to ceramics. I will display the finished piece once it is fired!

 
"Through the Window: Barnyard Owl perched at Midnight"
By Mark Barta
 
Ok, here we go! Each piece of pottery in this style will be only glazed in the inside of the piece, on the top of the piece and in the circles inside the "window" with the same glaze. The lines I have drawn on the vase with black underglaze will contrast nicely with the white clay body and create a sense of simplicity. Inside the "window" I want to only use lines and circles to convey an abstract, but minimal scene. I have to say that I feel my creativity flowing through these pieces of work greatly and am having fun coming up with names for the work, something that is usually more of a hassle than anything.
 
I can't wait to show you the finished results!
Thanks for reading!
-Mark Barta


Tuesday, October 22, 2013

Time Valued, assessing an hourly rate to place on your time

Hi,

In this post I'm going to be discussing the time and value I place on the time it takes to create an original piece of pottery.  In the first part of this post I hope to help other potters out with the most daunting piece of creating and selling work, placing a value on a piece of pottery.

(Disclosure, I work as an accountant, so this post is very numbers orientated)

The first thing in my opinion you must do as a potter hoping to sell your work is to place a value on your time.  With this crucial number, it will make pricing your work a lot easier.  In developing this amount, there are three things I would like for you to consider: the length of time you have been practicing the art, the amount of time on average you spend working on pieces of pottery, and the time outside of creating a piece of work you spend designing the piece.

First, the length of time you have been practicing the art of making pottery, for instance, if you are relatively new to the art, don't price your work at art fair prices.  The same goes for if you have been practicing for decades, don't price your work like it was meant for a High School art fair.  You have made the investment in learning the craft, so don't sell yourself short.  As the saying goes, practice makes perfect, the longer you practice your craft, the better you will get at it, and the more you should charge for it.  This holds true for most, and is a good general assessment of your work, but if for instance you are creating great work and have only been working at the craft for a short period, don't be afraid to price your time at a higher value.

Next, this is the easiest step, measure how many hours a week you spend working on creating work.  This is the time from which you enter your studio, to the time you leave.  Make sure to be accurate with your times in the studio, and as the weeks progress you will be able to develop an average amount of time you spend weekly in the studio.

Lastly, the length of time outside of creating the piece designing the creation needs to be factored in the price of the piece.  Now, most likely, not every piece of work you create is going to be designed from scratch, a lot of your work is going to be of a style you have created that can be applied to multiple pieces.  Think about, on average, how many hours a week you spend on designing new work and styles for your art.  Even though you are not actually working on a piece of art at the time physically, you are still spending your time to create a great piece of work and this needs to be factored in.

Now that we have all these different factors in place, here comes the fun part, factoring a number to place on your time.  I generally take the amount of hours I spend designing new work and divide it by the hours working with clay in the studio.  For instance, say I spend 2 hours designing new work a week on average and 10 hours a week on working with clay.  I would take the number 2 and divide it by 10, this would equal 0.2.  This number basically mean that for every hour you spend in the studio working on clay you should factor in an additional 0.2 hours that it took to design your work.  In this example, my number would be 1.2.  The hardest part now is creating an hourly rate at which you will work at, we find this number by looking at the first step and evaluating ourselves, and placing a number on our skill level.  In this case, say we value our time, based on our skill level, at 15 dollars an hour.  Taking the number 15 and multiplying it by 1.2, we get our hourly rate of 18 dollars an hour.

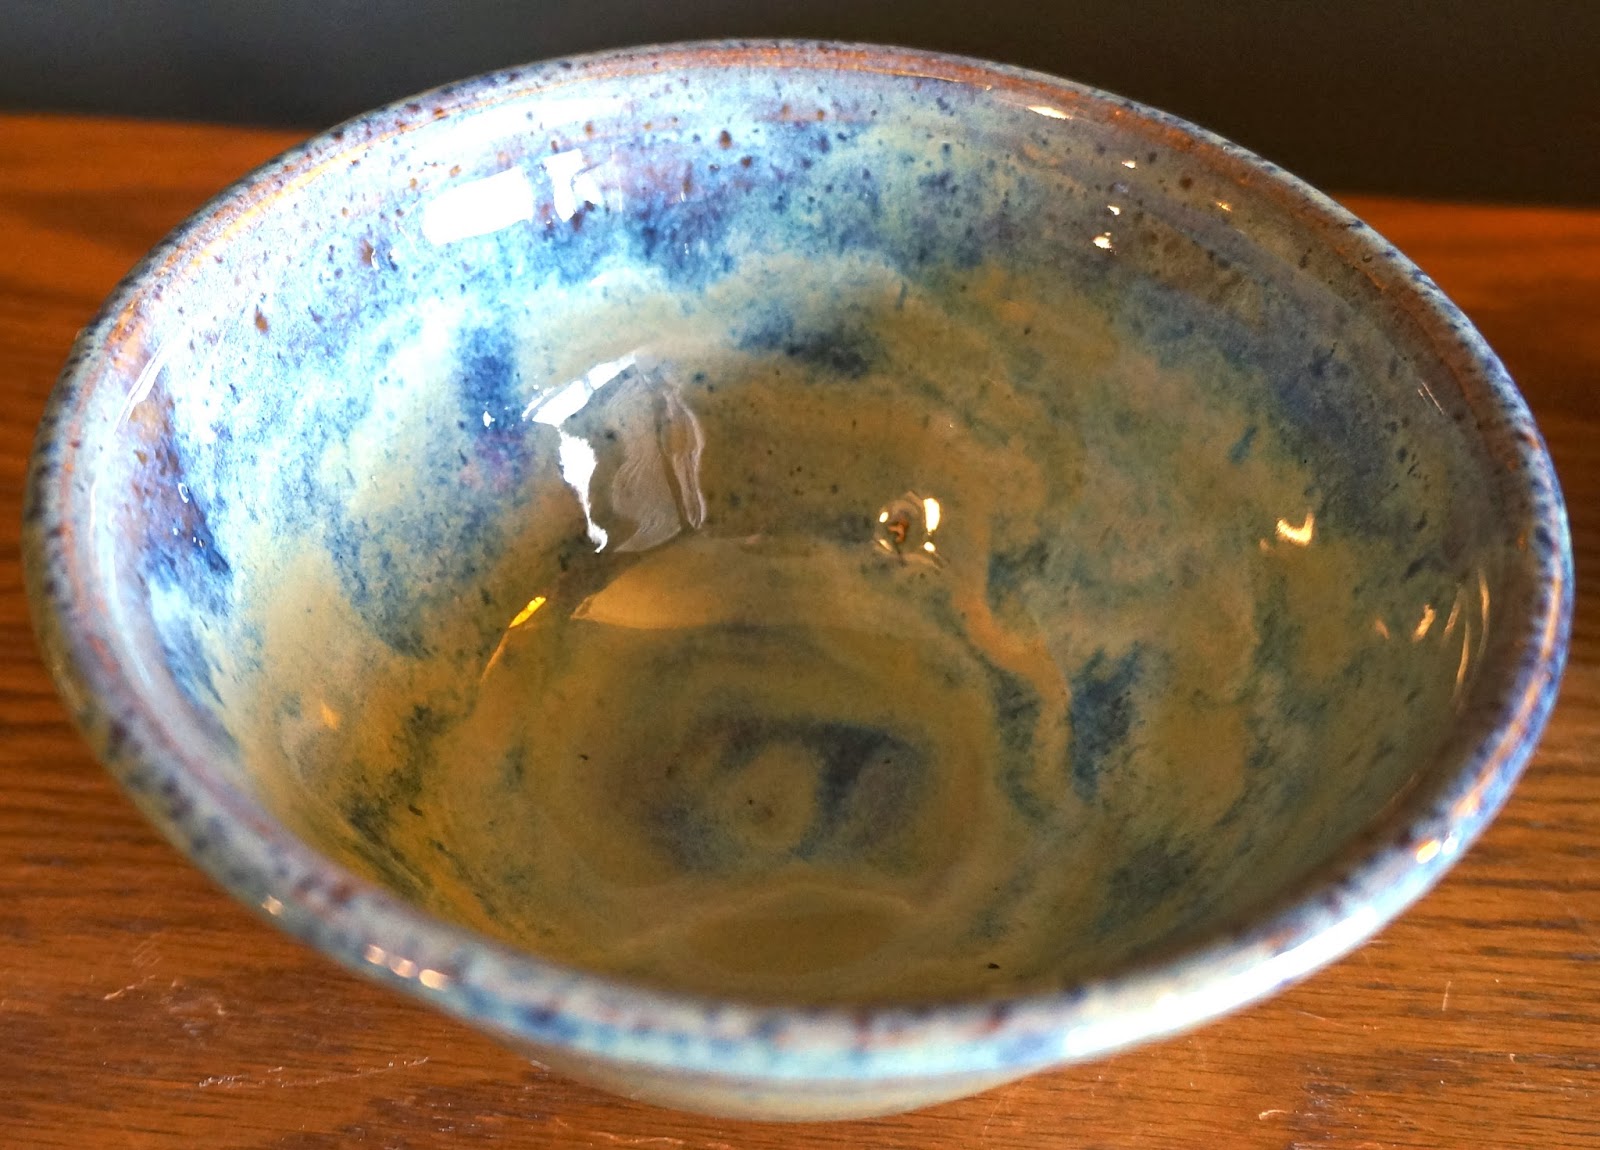
We now have a rate at which we can develop a price for a certain type of piece of pottery.  In this example, say we are working to determine how much we should charge for a bowl measuring 6" in diameter.  First, we need to know how many of these bowls we can make in an hour, so spend an hour making only these sized bowls and see how many you can make.  In this example, we made 6 bowls in the hour allotted.  Dividing the hourly rate of 18 by the number of bowls made, 6, we see that each bowl thrown should be currently valued at $3 a piece so far.  If you trim the bottoms of your bowl, repeat the exercise, spending an hour trimming only bowls.  In this example, say we can trim 12 bowls an hour.  We would then take the same hourly rate of 18, and divide it by 12, the number of bowls trimmed, and we would see that we need to add another $1.50 to each bowl.  If extra design work is applied to the bowl, repeat the process again to figure the amount that needs to be added for decorations.

At this point in the example, we have a piece of unfired, thrown, and trimmed bowl valued at $4.50.  Once fired, the bowl will need to be glazed, measure how many bowls you can glaze in an hour, in this example we can glaze 6 bowls per hour.  Using the same math as before, we have added $3 more of value to the bowl, so the total amount of time valued in one bowl would be $7.50.

So far, we have assessed that for each 6" diameter bowl, we should charge $7.50 for our time, this is not including the cost of materials, which would then need to be added to the amount.

I hope you have gotten some insight on the pricing of your time in this blog, my method of pricing my time is by means definitive, but I hope this will inspire you to think more about the value of your time.

Thanks for reading!
Mark Barta


Monday, October 14, 2013

First Cone 6 Firing in my Kiln!

First firing in my kiln to cone 6, 2300 degrees fahrenheit, was a success! I have been trying some new glazes at this temperature by Amaco, and I have to say the results were quite magnificent.

Jade Pear
by Mark Barta

To the left is a pear shaped form glazed with two coats of Amaco's Lustrous Jade on the body form and two coats of Tenmoku. Where the glazes meet there was a nice variegated color that I will have to try on a larger scale.


Ancient Jasper Vase
Jasper Vase
By Mark Barta

Another glaze I tried was Amaco's Ancient Jasper. I really like the way the glaze breaks over the edges of the form and creates another color. The glaze was applied with three coats of glaze and the results were great! The inside of the vase was glazed with Amaco's Seaweed glaze, it's a little hard to see from the picture, but the glaze flows very nicely downwards to create a sense of movement. The two glazes combined create a nice contrast between each other.

 
Jasper Cup
by Mark Barta

The cup to the left is another example of Lustrous Jade over Tenmoku. On this cup, I created more of an overlap between the glazes and as you can see the variegation in color made for a nice effect.

Thanks for reading!
-Mark Barta


Sunday, September 22, 2013

Raku!

Brackers hosted a Raku firing event this past weekend and I want to share the results!

The first of two pieces that I raku fired is a 1 foot tall bottle form. When performing a raku firing, you superheat the piece of pottery to a couple thousand degrees, then while it is red hot and glowing you open the kiln and pick up the piece with tongs. Once you have a good grasp of the piece, you place the piece into a bin of combustible material and it instantly ignites into a fireball. While the fire is going, you place the lid on the bin to create a seal, all the oxygen is then burned out of the bin and the fire goes out, this creates a reduction environment. Once cooled, you pull the pot out of the bin and quench it in a water bath, solidifying the metallic results. As this was a rather large piece, you can imagine how nervous I was to drop the piece when it was molten hot and break it, but luckily all went well and I got a great piece out of it.


Another view of this piece is on the right.


The second piece of pottery I Raku fired was a platter. I especially like the teal tones that came out on the piece.

I hope you enjoyed these two pieces!
-Mark Barta


Monday, August 19, 2013

Quick Update with Some New Twisted Bottle

So I have been trying a new technique involving stamps and underglazes, here are a some pieces hot out of the kiln.  I hope you enjoy!


Tuesday, July 16, 2013

Throwing a Bottle on the Potter's Wheel

Today I am showing a YouTube video of me throwing a bottle on the wheel.


In throwing a bottle on the potter's wheel, many challenges can be incurred in the process.  For instance, as seen in the video above, buckling can occur while you are bring the cylinder from being wide to very narrow.  The most important thing when throwing a bottle is to not lose your cool and stay calm.  If you are throwing a bottle and notice that the clay is buckling, slow down the wheel and start a pull at the base of the neck to straighten it back out, using a throwing stick can aid in this.  

Bottles can be some of the most fun and challenging form to throw on the wheel.  In the coming weeks I will be uploading another video showing how I create my signature twisted bottle.

Thanks for reading
-Mark Barta

Sunday, July 14, 2013

Throwing on the Wheel

Blog number two, here we go.  In todays blog I have decided to show some footage of me throwing.  In this video I will be throwing a large bowl that can be both functional and decorative, I hope you enjoy!

In addition to today's video, I have also decided to update my blog more regularly.  With the exception of this Sunday, I will still be showcasing new pieces of work on Sunday's and talking about the form and function, but I will be also now be posting a blog on Tuesday nights showcasing some throwing through a video on Youtube!

Above, is an example of a finished bowl I have made recently.  When making bowls, many conscious decisions have to be made both during the actual throwing and the finishing (glazing).  For example, in the video above, you will notice that much attention is paid towards the rim.  As the rim is the main portion of the bowl that the intended user will touch, it is important for it to be smooth so that it will feel good when the user handles it.  Also, like any piece,  the rim of a bowl is a finishing point for a piece, so it is best to have a good finish point to end the profile.

Another conscious decision that must be made when designing a bowl is the glaze used.  Whether the finished piece is supposed to be for functional or decorative from the potter's eye, one must remember that the buyer of the piece may use it for either.  With that in mind, when glazing the bisque piece, I prefer to use glazes that are non-toxic and labeled dinnerware safe.  This information can usually be located on the glaze bottle itself, if this information is not on the bottle, a quick check to the manufacturer's website usually will reveal this information.  If in doubt, don't use it.

Thanks for reading!
-Mark Barta

Wednesday, July 10, 2013

Welcome to Twisted Top Pottery

Welcome to Twisted Top Pottery!  As this is my first post, I would like to formally introduce myself, my name is Mark Barta, I currently reside in Kansas City, KS, and I have been practicing ceramics for the past 10 years.  I first fell in love with wheel throwing in High School where I took as many ceramics classes as I could.  I later studied Ceramics in college at Kansas State University under the direction of Yoshiro Ikeda.  

I mainly create pottery on the wheel and create both functional and sculptural works.  The name Twisted Top Pottery comes from my take on the bottle form, I throw a bottle shape on the wheel and then alter the top of the form to bring movement and flow to the piece.  I recently have completed work on my own studio in the basement of my house and am excited to be creating works of art in my new studio.  

My goals for this blog are to share my pieces of ceramic art with the World, gain valuable feedback on my pieces to further grow in my artist direction, and to share tips and techniques I have learned over the years of study.  I usually create wheel thrown pieces throughout the week and fire over the weekend every other weekend.  I will update this blog on Sunday's in the afternoon with either pieces of work or ceramic related content, sometimes both.  


Displayed to the left is my first piece that I would like to share.  This piece is an example of my signature Twisted Top Bottle form, it is glazed with Spectrum's Low Fire Burnt Sugar and Mayco's Copper Adventurine, with accents of Mayco's Magic Flow glaze.  


The circle followed by a trail of copper is a decorative mark I am currently working and is in it's early stages, I will be working to evolve this decorative mark over the next few weeks.  


Thanks for checking out my first of many blogs!  
    - Mark Barta